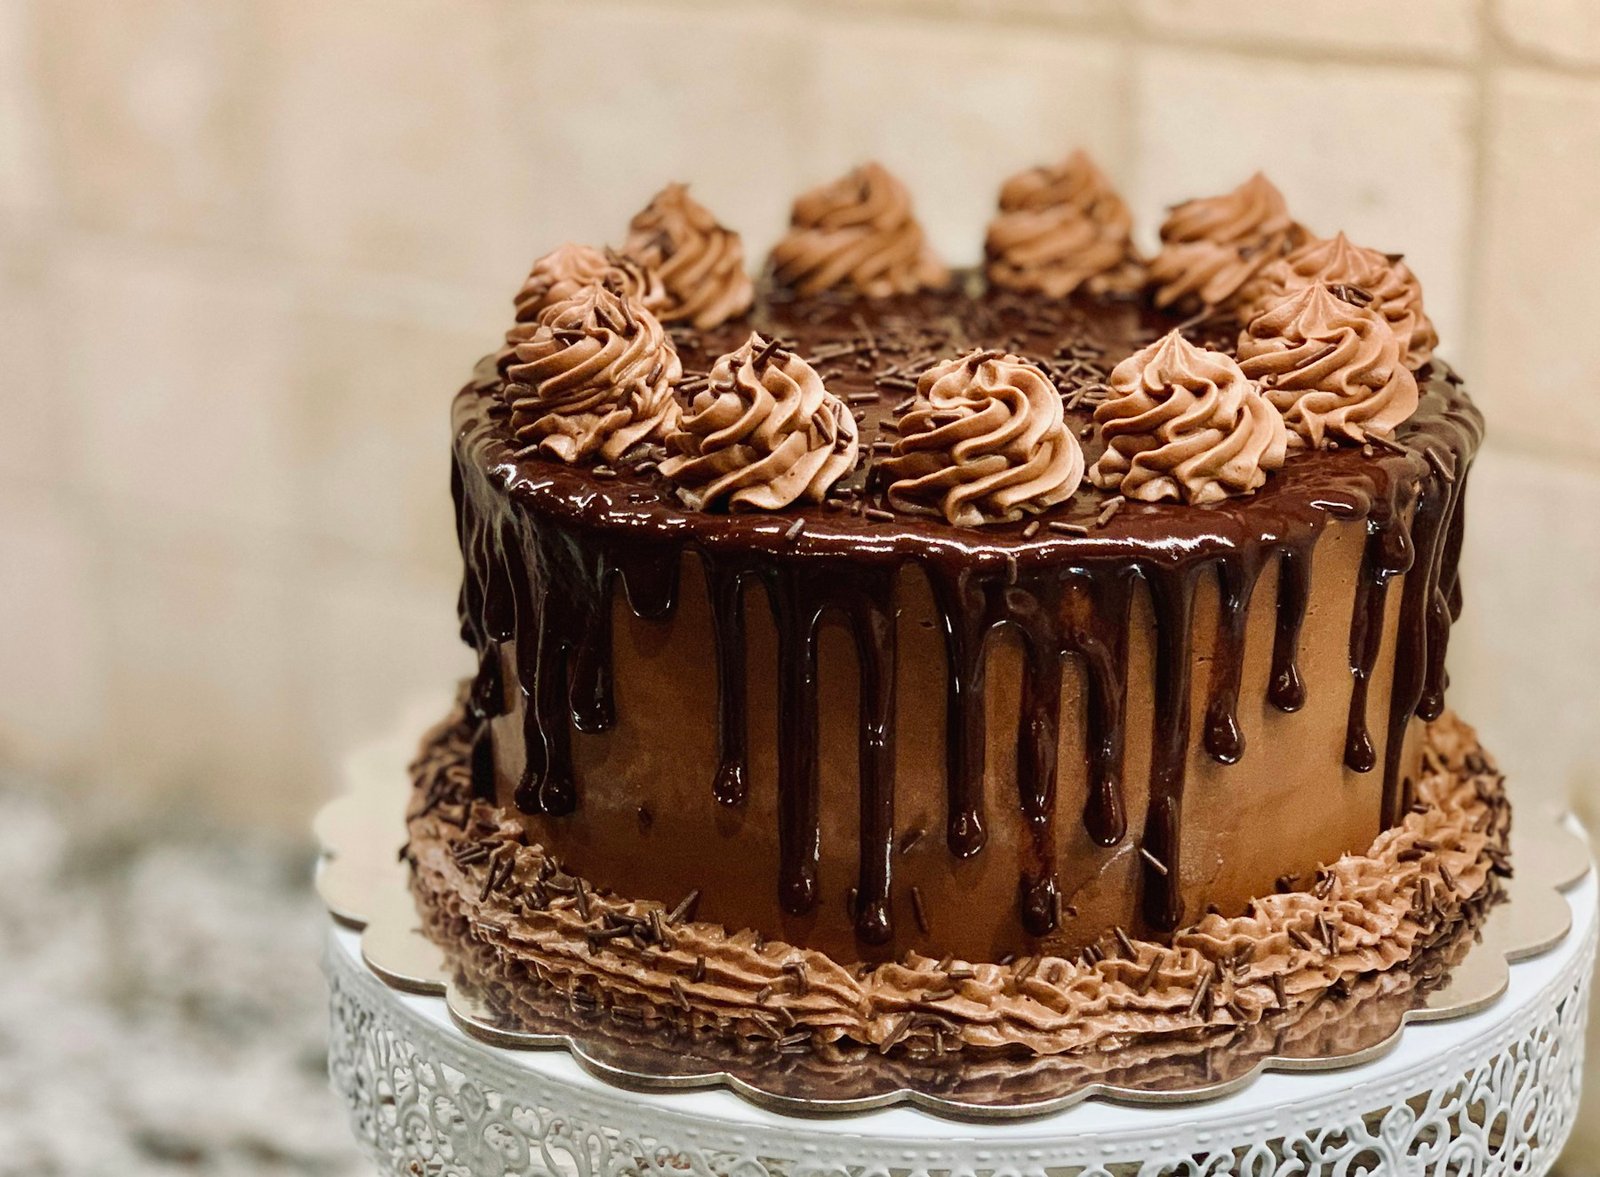

Using cake molds
Check the Mold Before Baking

Not every silicone mold has the same intended use. Before baking, inspect the product, read its care information, confirm the stated oven-use limit, and make sure the mold is clean and undamaged.
Candy molds, decorative molds, and baking molds can have different intended uses. Never place a mold in an oven, on a heating element, over an open flame, or on a stovetop unless its manufacturer specifically permits that use.
Before You Start
- Read the care instructions for the exact mold.
- Confirm its stated temperature limit and intended use.
- Check for tears, cuts, deep damage, or deformation.
- Wash and dry it according to its instructions.
- Select a flat baking sheet that fully supports the mold.
- Prepare batter, filling, and tools before filling the mold.
Support the Mold First

Silicone cake molds are flexible. Put the empty mold on a rigid, flat baking sheet before adding batter, and keep it on that support while transferring it to and from the oven.
The baking sheet improves handling stability and can reduce the chance of a spill. It does not replace the need to follow the mold’s own temperature and use instructions.
Why a Baking Sheet Helps
- It supports flexible mold walls and bases.
- It makes a filled mold easier to carry.
- It reduces spills during transfer.
- It helps keep cavities level while filling.
- It gives the mold a stable surface after baking.
Prepare the Mold for the Recipe

Silicone is often selected for easy release, but recipe type and mold design still matter. Cakes that are low in fat, highly detailed, sticky, delicate, or high in sugar may benefit from recipe-appropriate preparation.
Do not assume every silicone mold needs grease, or that grease is never needed. Follow the recipe, test a familiar batch when possible, and use a light appropriate method only when it helps the specific bake.
| Recipe Situation | Preparation Consideration |
|---|---|
| Standard Cake Batter | Start with a clean, dry mold and follow the recipe. |
| Low-Fat Batter | A light recipe-appropriate release method may help. |
| Detailed Mold | Prepare carefully so fine details release cleanly. |
| High-Sugar Recipe | Follow recipe guidance and avoid excess grease. |
| New Mold | Test with a familiar recipe before an important event. |
Fill the Mold Evenly

Even filling supports more consistent baking and a cleaner finished shape. For cakes that rise, leave room for expansion and follow the recipe’s fill guidance; cavity shape and recipe expansion vary, so no universal percentage suits every mold.
How to Fill a Silicone Mold
- Place the empty mold on the baking sheet.
- Fill cavities gradually and evenly.
- Leave room for batter expansion.
- Use a spoon, scoop, or piping bag when control helps.
- Gently tap the supported tray when suitable for the recipe.
- Check that the mold remains level before moving it.
Bake With the Recipe as Your Guide

A silicone mold can behave differently from a metal pan, so recipe time and temperature are starting points rather than automatic results. Oven performance, mold thickness, cavity size, and batter volume can change the outcome.
Preheat according to the recipe and begin checking near its expected finishing time. Use the recipe’s doneness method, such as a cake tester, visual check, spring-back test, or an internal-temperature check where the recipe specifies one.
| Check | What to Observe |
|---|---|
| Oven Preparation | The oven is preheated according to the recipe. |
| Mold Placement | The mold remains on its supporting sheet. |
| Batter Level | Cavities remain level and do not overflow. |
| Doneness | Use the method appropriate for the recipe. |
| Surface Color | Silicone may produce a different finish from metal. |
Cool Before Releasing

Cooling allows many cakes and baked goods to become firmer and easier to handle. The right time depends on the recipe, cake size, mold detail, and product structure.
Do not force a soft cake out immediately. For delicate cakes, allow the structure to set according to the recipe before attempting release.
Signs a Cake May Be Ready to Release
- The cake has rested as directed by the recipe.
- The surface feels set enough to handle gently.
- The edges release without tearing.
- The cake holds its shape when the mold is flexed lightly.
- The mold can be peeled back without pulling the cake apart.
Unmold Without Damaging the Cake

Because silicone is flexible, the safest technique is usually to loosen the edges and gently peel the mold away instead of pulling the cake aggressively. For detailed shapes, work one area at a time and support the baked item with a plate, rack, or tray.
Gentle Unmolding Steps
- Confirm the cake has rested as the recipe requires.
- Loosen the outer edge with clean fingers.
- Gently flex the mold away from the cake.
- Support the cake as it releases.
- Peel detailed sections gradually.
- If it resists, allow more setting time.
Clean and Store the Mold

Care practices should follow the individual product instructions. Remove residue soon after use, clean with materials suitable for that mold, rinse thoroughly, dry fully, and store it where it will not be cut, crushed, or permanently bent.
Do not assume every silicone cake mold is dishwasher-safe; confirm dishwasher use from the individual product’s care instructions.
Cleaning and Storage
- Let the mold cool before cleaning.
- Remove food residue gently.
- Use cleaning methods permitted by product instructions.
- Avoid abrasive tools and sharp utensils.
- Rinse and dry thoroughly.
- Store flat or avoid deep creases and damage.
Common Problems and Practical Fixes

| Problem | Likely Cause | Practical Next Step |
|---|---|---|
| Cake Sticks | Recipe, detail, or early release. | Let it set longer and review recipe preparation. |
| Cake Tears | It may still be soft. | Cool longer and peel gradually. |
| Batter Spills | Not enough support. | Put the empty mold on a sheet first. |
| Uneven Portions | Inconsistent filling. | Use measured portions and keep the tray level. |
| Underbaked Cake | Shape or oven behavior varies. | Continue while checking by the recipe method. |
| Mold Damage | Sharp tools or poor storage. | Stop using a damaged mold and review replacement. |
Choosing a Silicone Cake Mold

Choose a mold by finished cake shape, cavity size, portion count, recipe type, expected use, cleaning needs, packaging, and destination-market requirements. B2B buyers should confirm exact dimensions, color, finish, packaging, intended use, and any documentation needed for the target market.
Cake Shape
Choose round, square, loaf, bundt, novelty, or custom shapes for the product concept.
Cavity Size
Select size and depth for batter volume, serving format, and expected results.
Mold Detail
Choose simple or detailed patterns according to release needs and cake presentation.
Project Requirements
Confirm dimensions, colors, packaging, documentation, and target-market needs before sourcing.
Silicone Cake Molds for B2B Projects

Kezon can discuss silicone cake mold and pan projects for wholesale, retail, private-label, and custom sourcing. Available product types, colors, packaging, customization options, material information, and documentation must be confirmed for each project.
B2B Project Checklist
- Required mold type and finished cake format.
- Product dimensions and cavity details.
- Estimated order quantity and sales channel.
- Target market and known requirements.
- Color, logo, packaging, and private-label needs.
- Reference images, drawings, or existing samples.
- Documentation and testing expectations, if applicable.